


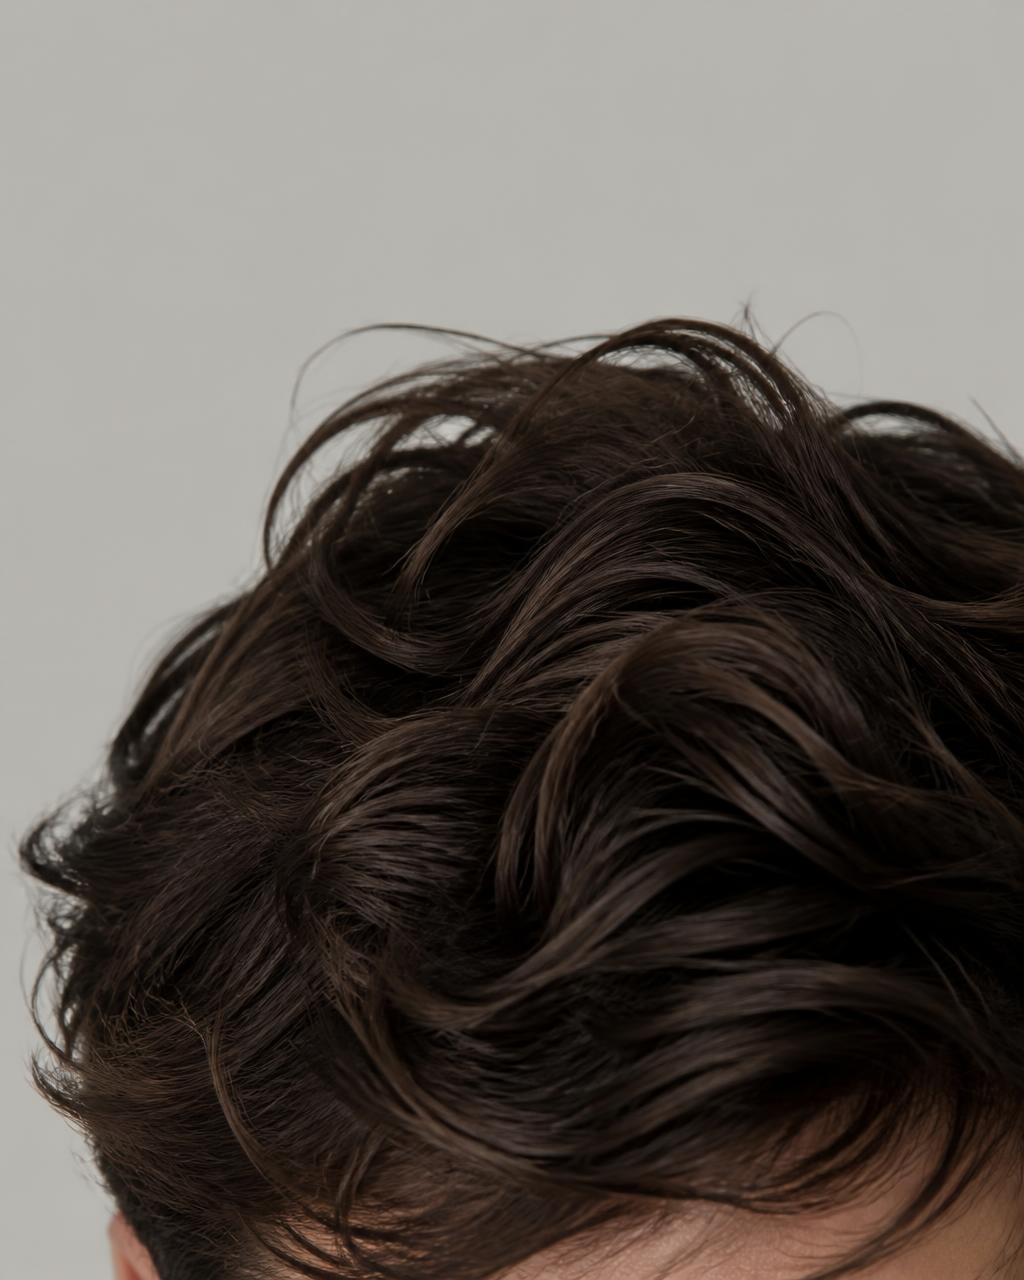
Thick & Resistant Hair
The Best Styling Routine for Dense, Resistant Hair
Dense hair does not resist styling because it is difficult. It resists because it needs order: prepare, dry with intent, layer lightly, then refresh.

The short answer
Dense, resistant hair responds best to a routine with a clear order: prepare on damp hair, dry with intent so the root is set where you want it, then layer light products in stages — lift at the root, control through the mid-lengths.
The mistake is trying to force the shape with product at the end. Structure comes from the drying stage; product's job is to hold what already exists and let you refresh it later in the day.
Key takeaways
- Resistant hair is not stubborn — it just needs the shape set while it dries.[1]
- Preparation on damp hair gives the dryer something to work with.[1]
- Drying direction decides whether the root sits lifted or flat.[1]
- Layer in stages and use less of each product than you would alone.[1]
- Structure first, movement second: build the shape, then break it up.[1]
- A dry matte reset at the root is the most reliable way to refresh later in the day.[1]
How dense, resistant hair behaves
Dense hair carries weight. Every additional strand adds mass, and that mass pulls the whole shape toward the position the hair naturally rests in. Coarse strands add a second factor: they are stiffer, so they hold their own direction rather than following the one you give them.
Together those two traits explain most of the frustration. The hair seems to ignore product — but what is really happening is that the hair was never set into a new position in the first place, so the product is being asked to hold a shape that the hair is actively resisting.
There is an advantage here too. Once dense hair is set into a shape, it holds that shape with far more authority than fine hair ever will. The work is front-loaded.
Preparation: what to do before the dryer
Preparation is the stage most people skip and the one that changes the most for resistant hair.
Get to damp, not wet
Towel-dry or let the hair sit for five to ten minutes until it feels damp rather than dripping. Soaking hair is at its heaviest and least responsive, and drying it from that state means most of your session is spent removing water instead of building shape.
Add grip
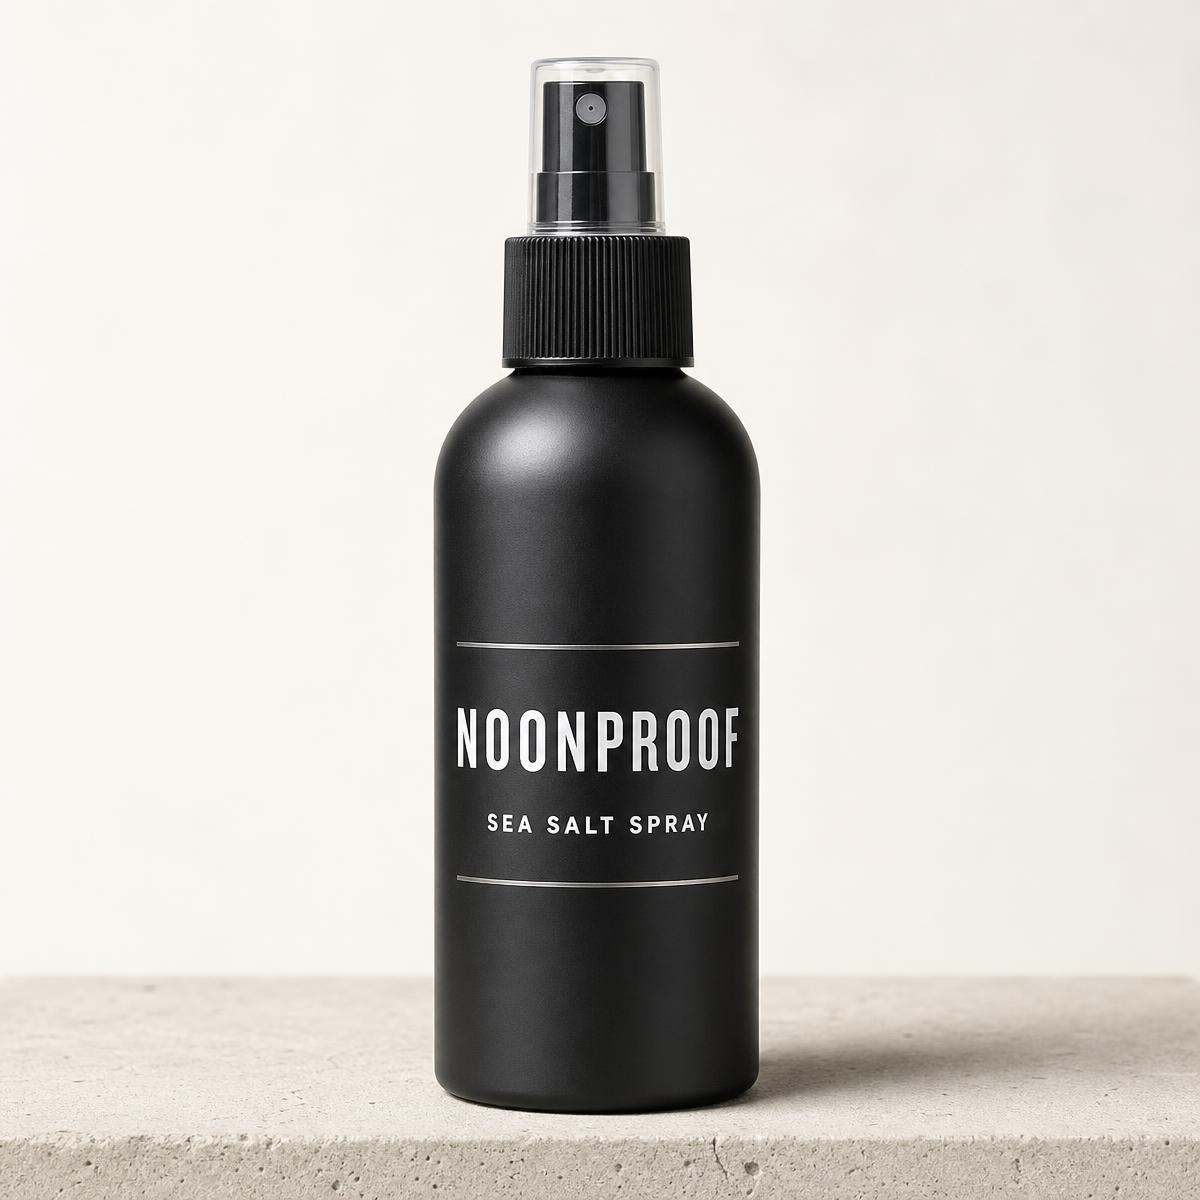
Coarse hair is often slippery at the surface. A light, even mist of sea salt spray gives the strands something to hold against each other, which makes the shape you build during drying set more decisively. Comb or scrunch it through so it reaches the mid-lengths, not just the top.
Know your growth pattern
Find the direction each section grows before you start. Dense hair usually has one or two sections — a crown whorl, a stubborn front — that determine the whole style. Those get dried first, while you have the most patience and the hair is at its most workable.
Blow-drying direction and root setting
This is where the structure is created. Drying with the fall of the hair sets it flat; drying across or against it sets it lifted.
Work in three or four sections across the top and crown. Lift each section away from the scalp with a brush or your fingers, then bring the air in at the root from underneath. Overdirect slightly past where you want the hair to sit, because dense hair relaxes back as it settles.
Use medium heat with high speed rather than maximum heat: you need working time more than intensity. Then finish each section with cool air and leave it alone until it is fully cool. Warm hair is still movable, and touching it at that point undoes the set you just built.
For the full method, see how to blow-dry thick hair for volume that lasts.
Product layering for dense hair
Layering works when each product is solving a different problem, and fails when it becomes three full applications stacked together. Use less of each than you would if it were the only product.
| Stage | Product type | Where it goes | Amount |
|---|---|---|---|
| 01 Prep | Sea salt spray | Damp hair, all over | 4–8 pumps |
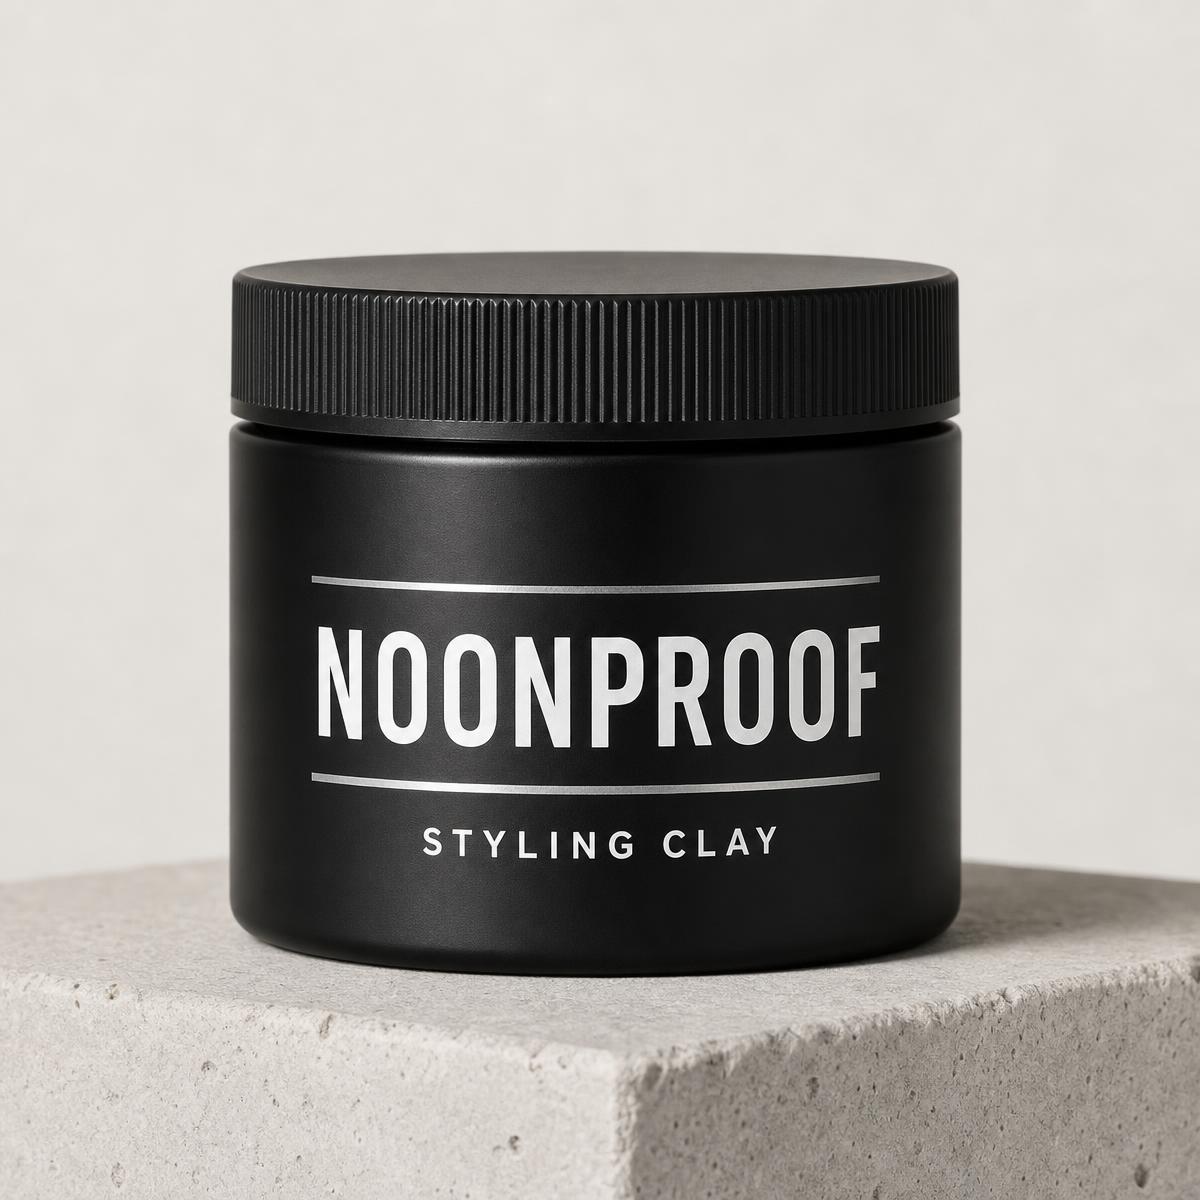
| 02 Build | Styling clay | Mid-lengths and surface, dry hair | Pea to almond-sized |
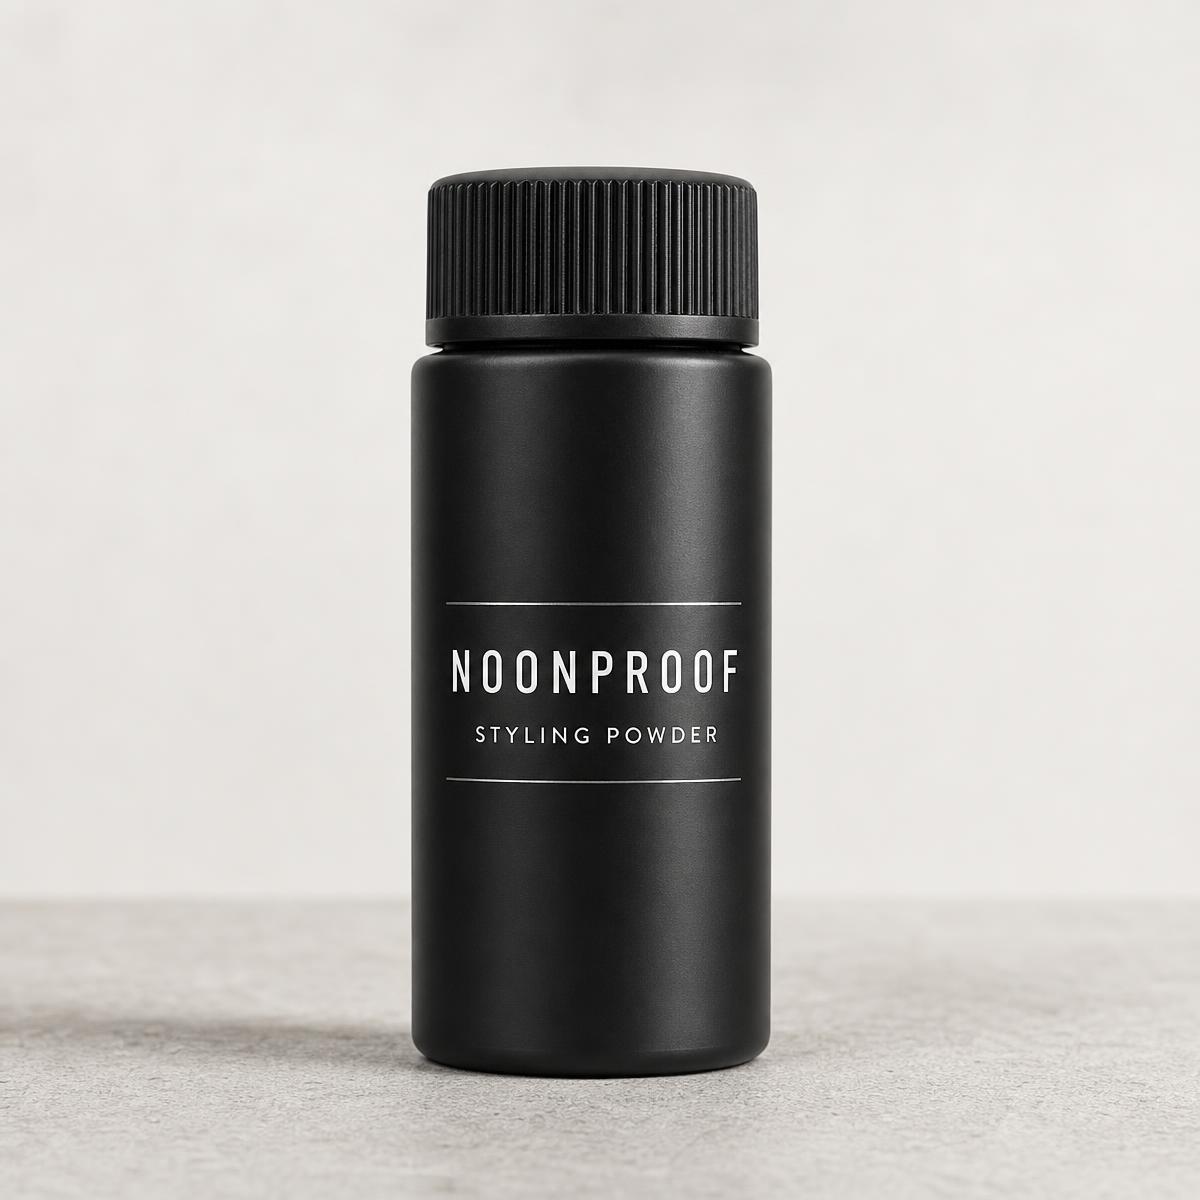
| 03 Refresh | Hair powder | Root sections, dry hair, later in the day | Small taps, 3–4 sections |
Emulsify the clay between your palms until it thins out before it touches your hair. Apply from the back forward and finish at the front with whatever is left, so the most visible section gets the lightest hands. Powder can also be used on its own for a fast root lift on days you skip the clay.
Building structure that holds
Structure is the deliberate part of the style: where the weight sits, where the part falls, which direction the front travels. Dense hair rewards decisions here because it has the body to hold them.
- Pick one focal point. Height at the front, a swept side, or volume at the crown — trying to do all three usually reads as shapeless.
- Support the base. Lift at the root is what keeps the shape above it from sinking.
- Let the haircut help. If weight is fighting you every morning, removing bulk at the next cut does more than any product change.
- Set, then stop. Once the shape is where you want it, stop adjusting.
Keeping movement in a strong shape
A structured style that has no movement reads as rigid. The fix is to break the shape up after it is set, not to use less hold.
Once the clay is distributed, shake the hair out with your fingers spread wide, then pinch a few sections at the surface to reintroduce separation. Powder helps here too: because it adds grip rather than weight, it keeps strands sitting slightly apart, which is what makes a dense style look full rather than solid.
Refreshing the style later in the day
Dense hair tends to drop at the root before it loses its overall shape. That means a refresh should target the root, not the whole head, and it should be dry.
- Dry, clean hands — damp hands will flatten the shape further.
- A very small amount of powder tapped into the flattest root sections.
- Fingertips at the scalp, working it in rather than pressing down.
- Shake the hair out, then reshape the front last.
Avoid adding a second application of clay in the afternoon. It stacks weight onto a style that has already dropped, and it is the most common reason hair looks heavy by the evening.
If you are resetting every day, adjust the morning instead: less product, more time on the drying stage, and a longer cool-down before you touch anything.
Sources and editorial status
This routine is general styling guidance from the NoonProof editorial team, drawn from widely used barbering practice for thick and coarse hair. It reports no testing, no measurements and no guaranteed outcome, because no study or product test was reviewed for this article.
Dense hair varies enormously in texture, growth pattern and condition. Expect to adjust the sequence rather than follow it exactly.
General styling guidance from the NoonProof editorial team. This article is not medical advice and does not describe verified product testing.
A routine built for dense hair
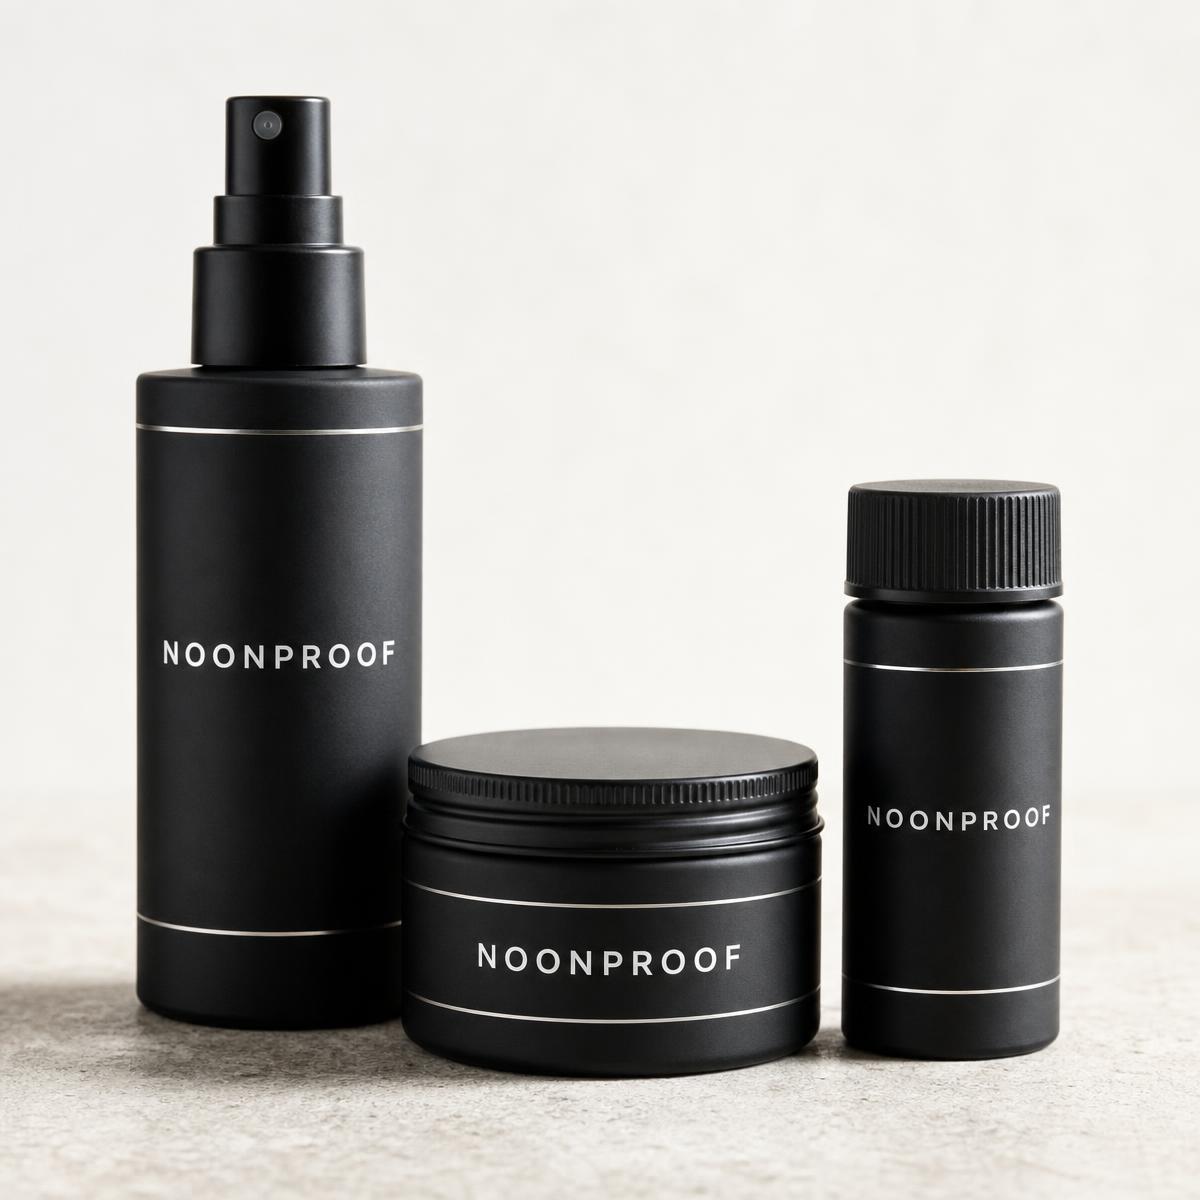
The three stages map to three products: Sea Salt Spray to prep — grip, texture and a styling foundation, Styling Clay to build structure, control and matte hold, and Styling Powder to refresh root lift and absorb oil during the day.
Build your system to run the full routine, or take the Hair Quiz if you would rather start with one product.