


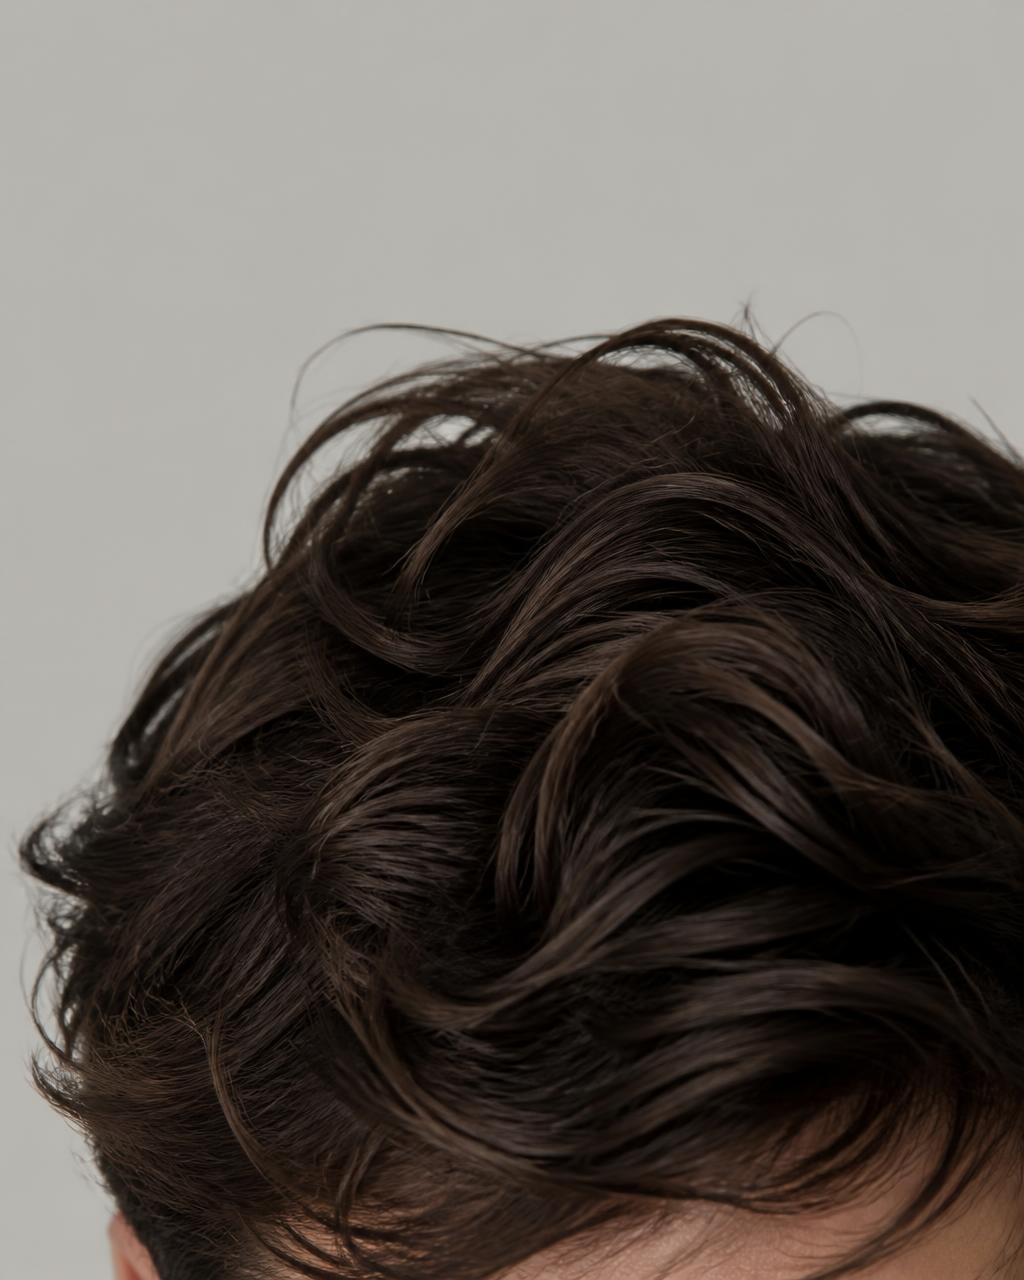
Blow-Dry Technique
How to Blow-Dry Thick Hair for Volume That Lasts
Volume in thick hair is built while the hair dries. Here is how airflow direction, heat, speed and brush work set the root before any product is applied.
The short answer
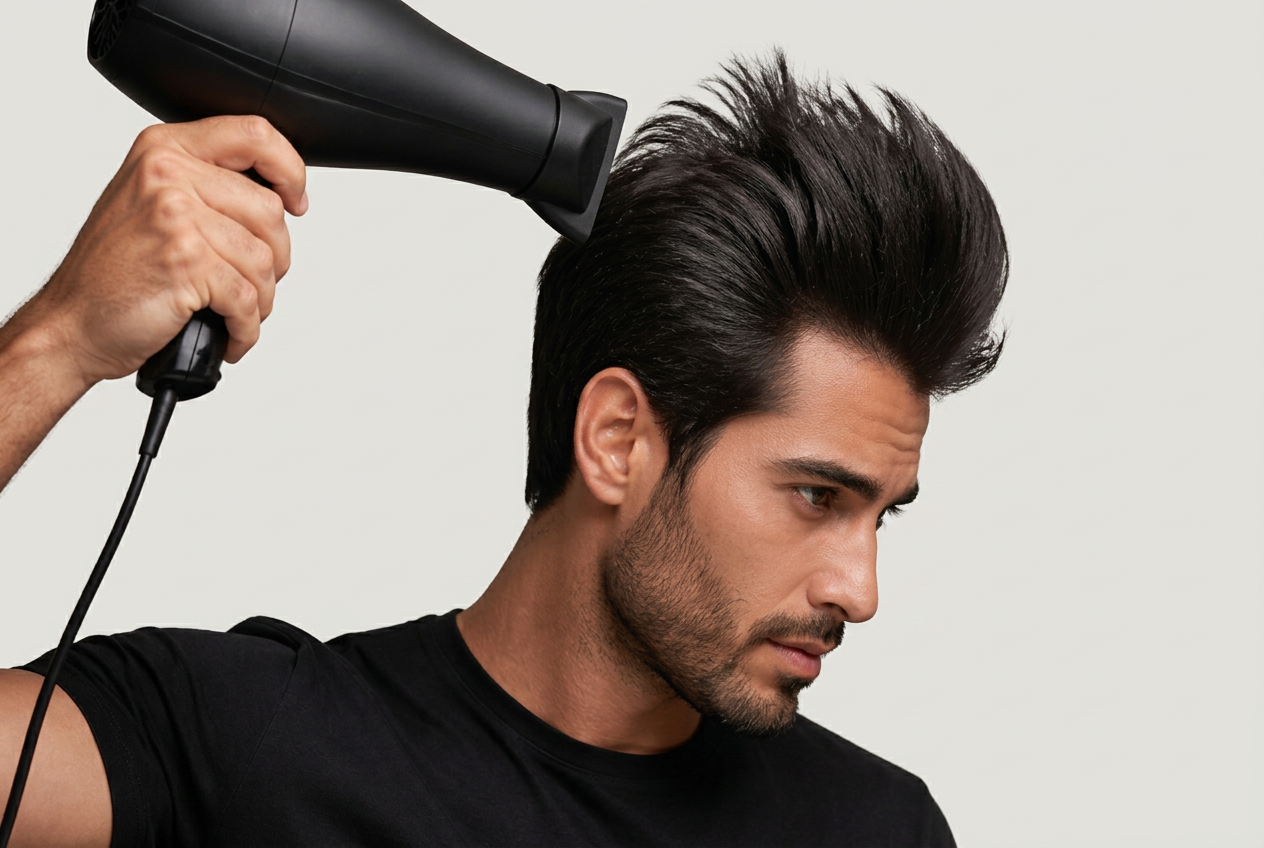
Volume in thick hair is created while the hair dries, not after. Dry from damp rather than soaking wet, aim the airflow at the root area from underneath or across the direction the hair naturally falls, use medium heat with high speed, and lift each section with a brush or your fingers while it dries.
Let the hair cool in that lifted position before you touch it, then finish with a light matte product placed where you need control — not pressed into the roots.
Key takeaways
- Airflow direction sets the shape: dry across or against the fall of the hair to build lift.[1]
- Medium heat with high speed usually gives more control than maximum heat.[1]
- Start blow-drying from damp, not dripping — soaking hair takes heat for longer with less shaping payoff.[1]
- A brush gives tension and direction; fingers give a softer, more natural shape.[1]
- Let hair cool fully in position before finishing; cooling is where the shape sets.[1]
- Finish with a small amount of matte product for control, applied after the shape exists.[1]
Why airflow direction matters more than heat
A dryer does two things: it removes water and it decides which direction the hair sets in as that water leaves. The second part is the one most people skip. If you point the nozzle down the length of the hair, you are drying it into the position it already wants to be in — flat against the head, following its natural fall.
Directing the air from underneath, or across the growth direction, asks the root to set in a lifted position instead. On thick hair this matters even more, because the weight of the hair above will press any unsupported root back down within the hour.
Keep the dryer moving and keep it a hand-width away from the hair. Static, close heat dries one small area hard while leaving the section around it damp, which is how uneven, collapsing shapes happen.
How to actually build root lift
Root lift is the space held immediately above the scalp. It is built section by section, not all at once across the whole head.
Work in sections
Split the top of the head into three or four rough sections — front, middle, crown, and the sides if your style needs height there. Thick hair is too dense for the air to reach the root through the full mass, so lifting one section at a time is what lets the airflow get where it needs to be.
Lift, then dry
Raise the section away from the scalp with a brush or your fingers first, then apply the air at the root. Drying first and lifting afterwards has almost no effect: the hair has already set.
Overdirect slightly
Push each section a little past where you want it to end up. Hair tends to relax back as it settles, so aiming slightly beyond the target position usually lands closer to it.
Heat and speed settings
Higher heat is not the same as better drying. Heat makes the hair pliable; airflow speed moves the water out. For thick hair, a medium heat with a high speed generally gives you more working time and more control than maximum heat, which can dry the surface before the root area has caught up.
| Stage | Heat | Speed | What you are doing |
|---|---|---|---|
| Rough dry | Medium | High | Removing surface water, no shaping yet |
| Shaping | Medium | Medium to high | Lifting and directing section by section |
| Setting | Cool | Low to medium | Locking the shape as the hair cools |
The cool stage is the one most people leave out. Warm hair is still movable; cool hair holds the position it was left in. Thirty seconds of cool air across the finished shape is often the difference between a style that survives to the afternoon and one that does not.
Using a brush — and when to use your hands
A brush provides tension. Tension is what lets you hold a section in one place long enough for it to set there, and it is why a brush-dried style usually reads as more deliberate.
A round brush is the usual choice for building height and bend at the root: place it under the section, lift, and follow with the dryer moving in the same direction as the brush. A flat or vented brush is better when you want direction and smoothness rather than volume.
Fingers give you less tension but more natural separation, which suits textured or deliberately undone styles. Many people get the best result by brushing the top and crown, then finger-drying the sides.
Dry from damp, not soaking wet
Blow-drying hair that is still dripping wastes most of the session on water removal, during which the hair is too heavy to shape and the root is being pulled straight down by the weight.
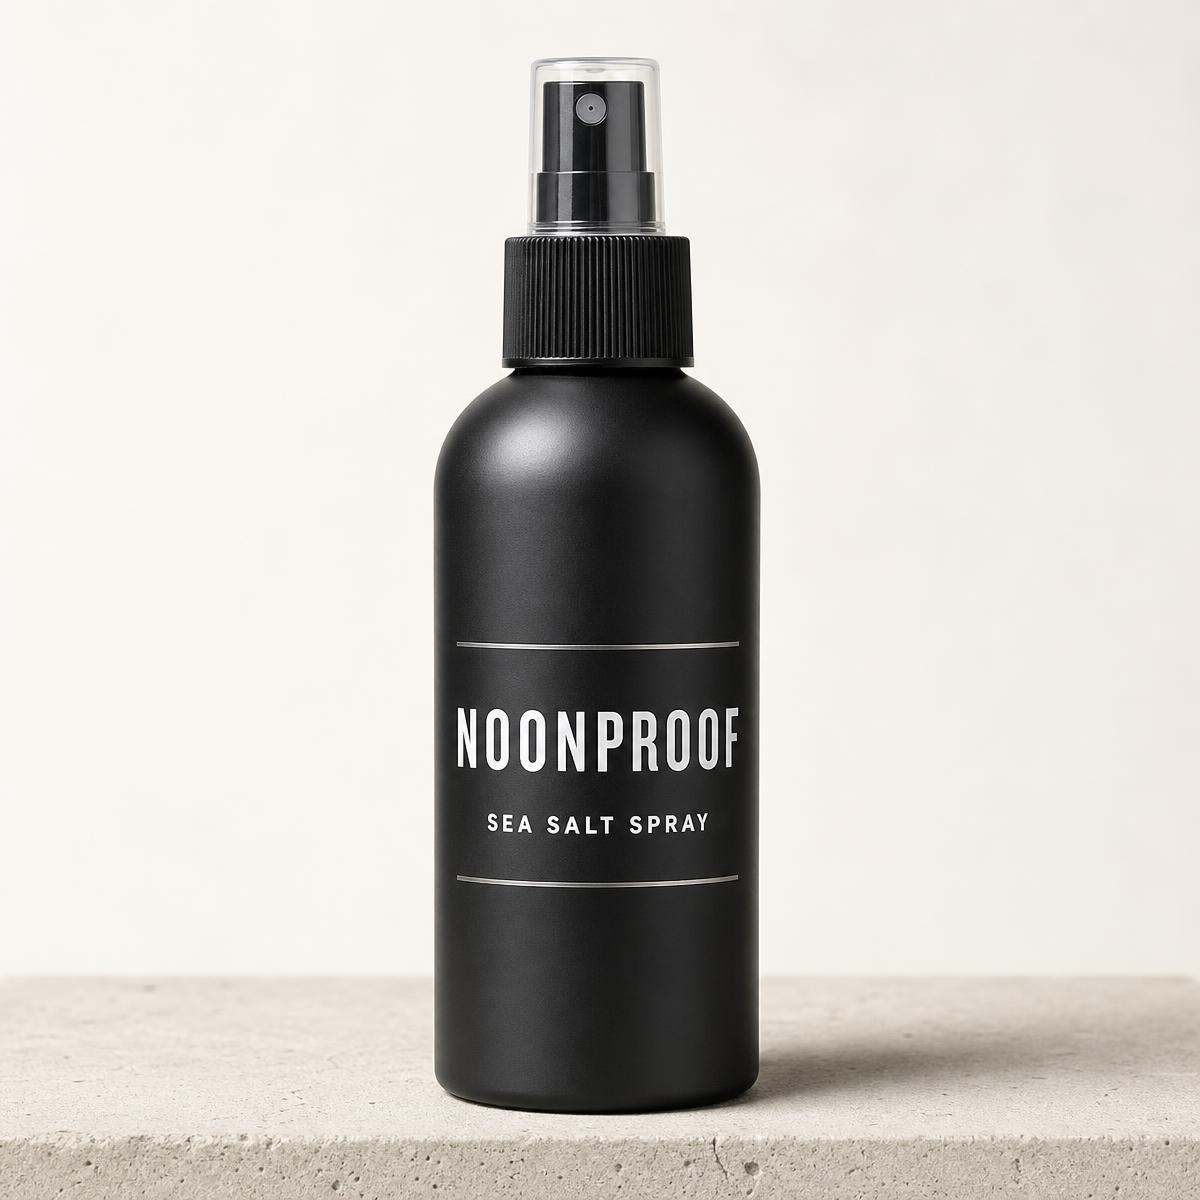
Towel-dry first, or let the hair air-dry for five to ten minutes until it feels damp rather than wet. This is also the point at which a preparation product does the most work: a light mist of Sea Salt Spray on damp hair adds grip and texture for the dryer to work with.
Avoid the other extreme too. Hair that is already fully dry will not take a new shape from heat alone, and re-wetting only the ends usually produces an uneven result.
Finishing without flattening what you built
By the time the hair is dry and cool, the shape already exists. The finishing product is there to hold it, not to create it — which means you need far less than you would if you were styling from wet.
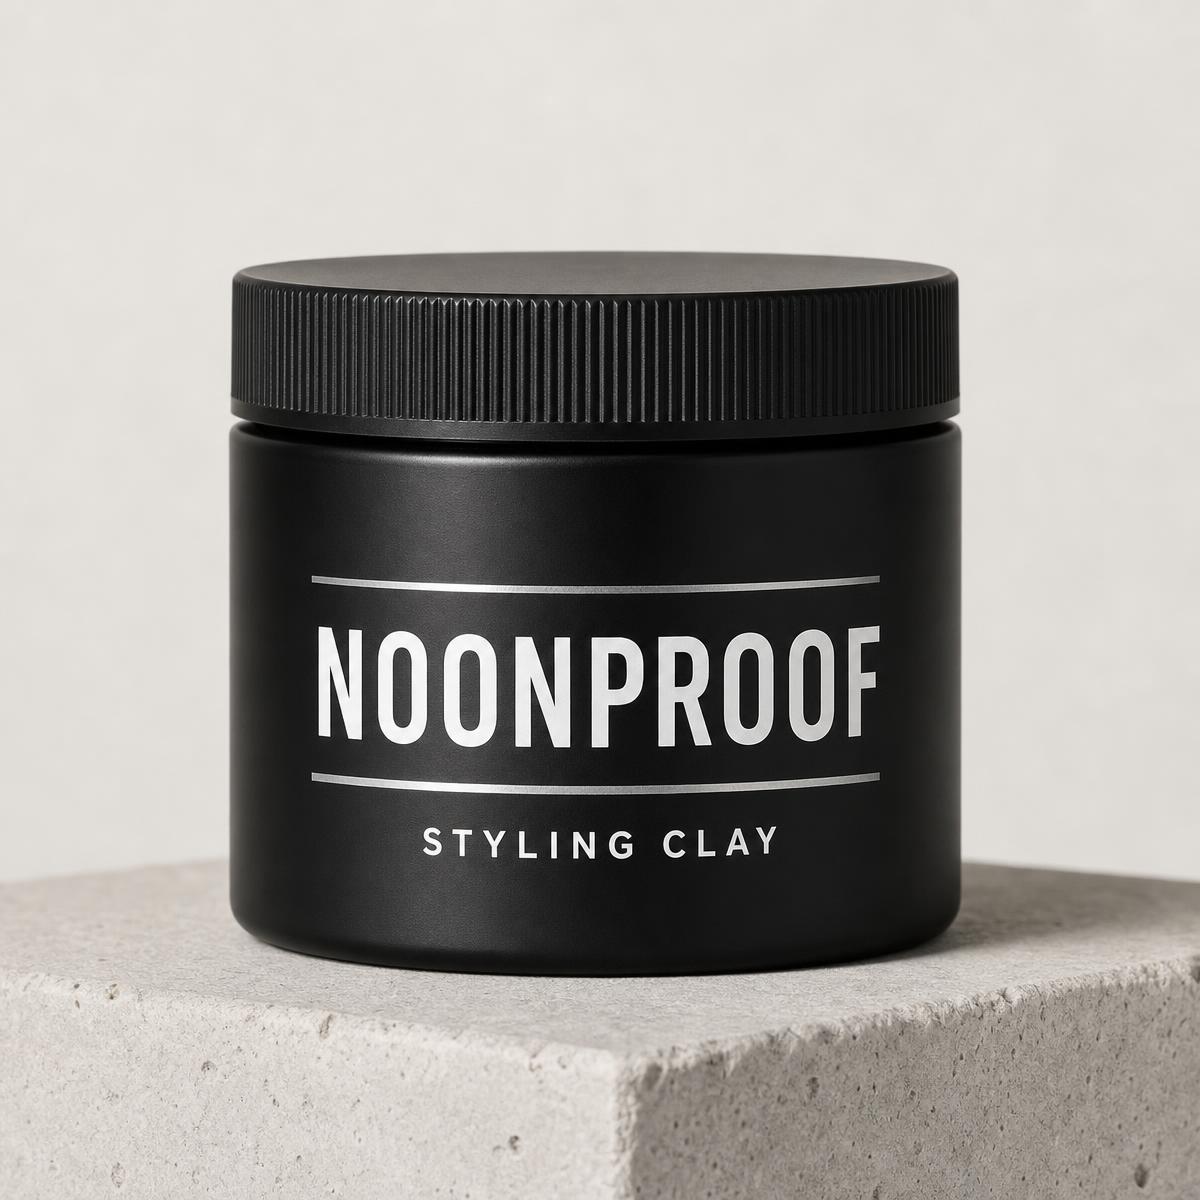
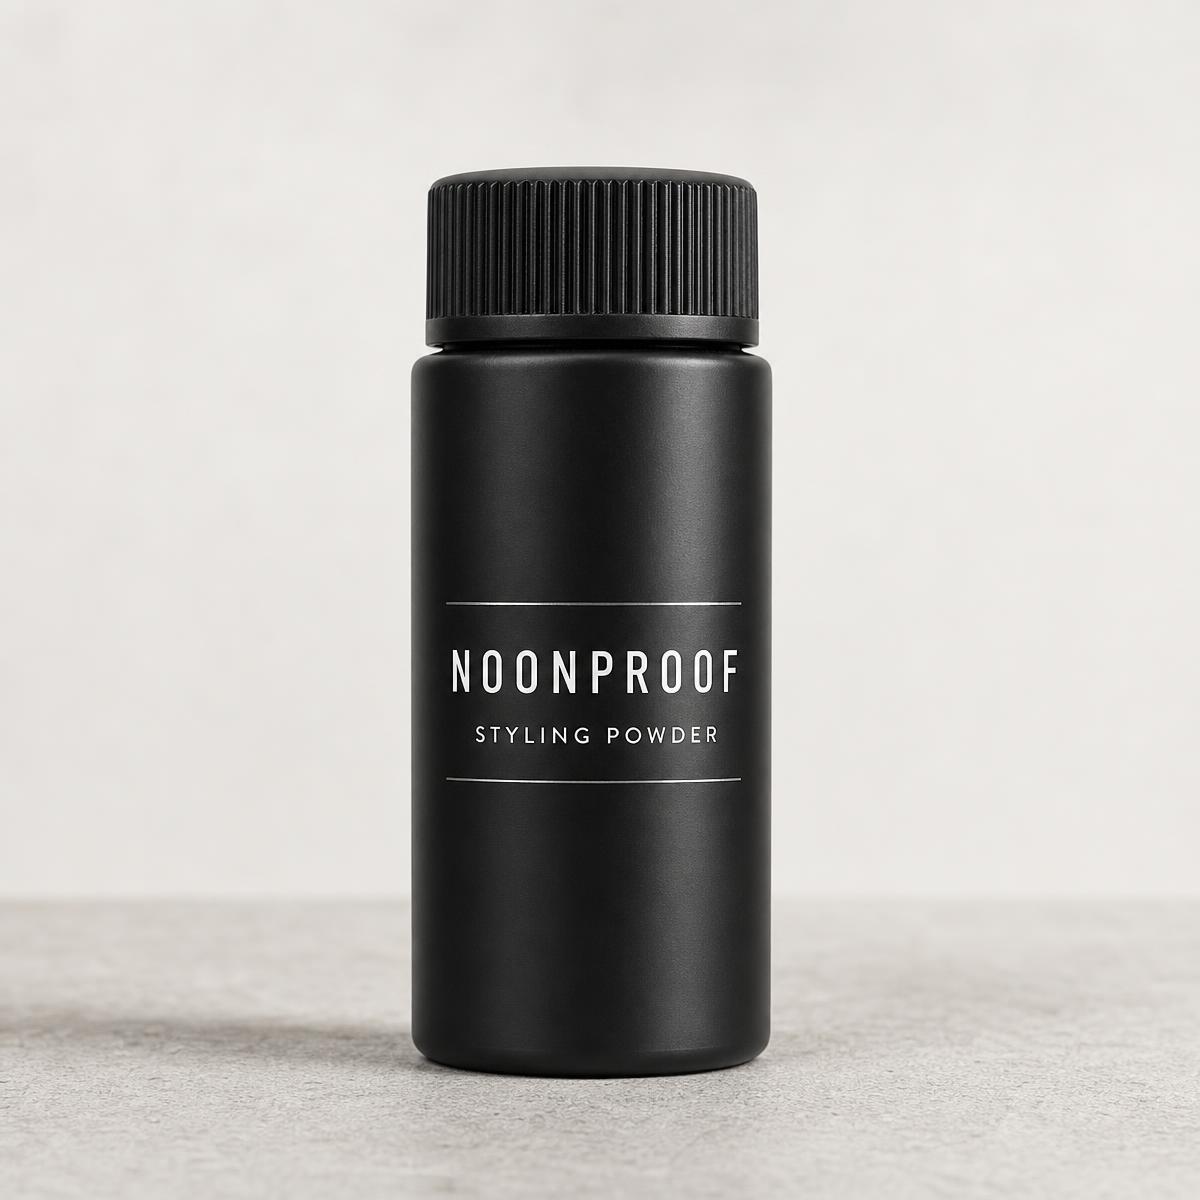
For height and a matte, dry finish, work a small amount of powder into the root area with your fingertips and shake the hair out. For stronger control and definition through the mid-lengths, emulsify a small amount of clay between your palms first so it spreads evenly instead of landing in one patch.
If the style drops later in the day, resist adding a second full application. A quick reshape — dry hands, a little powder at the root, shake out — usually restores more shape than more product does.
Common blow-drying mistakes
- Drying in the direction the hair already falls, then expecting lift.
- Using maximum heat on the whole head and losing control of the shape.
- Trying to dry the full mass at once instead of working in sections.
- Skipping the cool-down, so the shape never sets.
- Applying product before the hair is dry, then adding more afterwards.
- Touching and re-adjusting the style repeatedly while it is still warm.
A repeatable five-minute sequence
Adapt the timings to your hair length and density. The order is the part that matters.
- Towel-dry until damp. Mist lightly with sea salt spray if you want extra grip.
- Rough dry on medium heat, high speed, without shaping.
- Section the top. Lift each section at the root and dry from underneath or across the fall of the hair.
- Overdirect slightly and hold each section until it feels dry.
- Switch to cool air and set the finished shape.
- Finish with a small amount of powder at the root or clay through the mid-lengths, then shake the hair out.
Nothing in this routine is a guaranteed outcome — hair varies, and so do dryers. But the sequence is consistent, which makes it easy to adjust one variable at a time until you find what your hair responds to.
Sources and editorial status
This article is general styling guidance from the NoonProof editorial team, based on widely used barbering and blow-drying technique. No study, clinical result or product test is cited, because none was reviewed for this piece.
Heat, timing and settings vary between dryers and hair types. Treat the guidance as a starting point to adjust rather than a fixed specification.
General styling guidance from the NoonProof editorial team. This article is not medical advice and does not describe verified product testing.
Finish the shape you just built
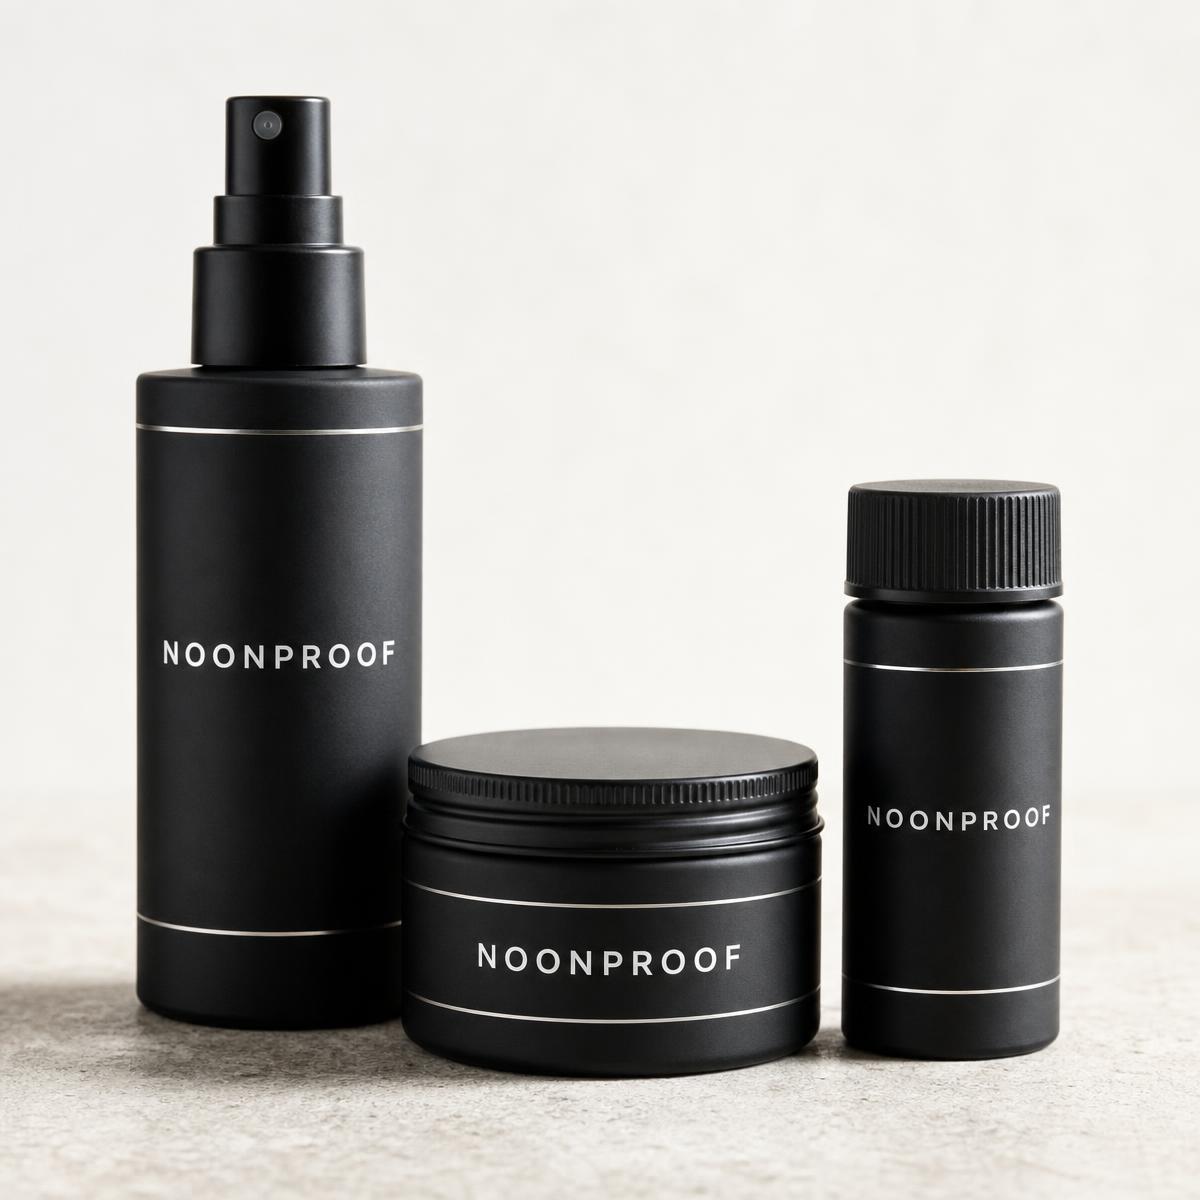
Once the hair is dry and cool, the goal is to hold the shape without weighing it down. NoonProof Styling Powder is made for root lift and a matte finish, and Styling Clay is made for stronger matte control and shape through the mid-lengths.
Not sure which one fits your hair? Take the Hair Quiz